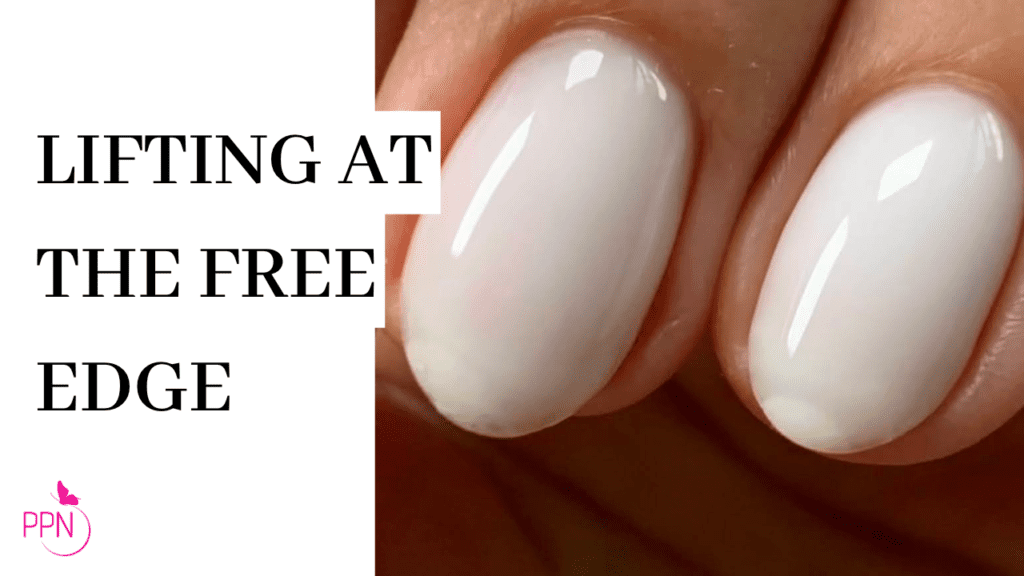
Why are my gel nails lifting at the free edge? Believe it or not, this is a loaded question, but today we will unpack it.
It can be frustrating not to know why you continuously get gel nail lifting when you’re doing everything right.
Let’s take it piece by piece. Is it the customer, you, your products, your nails, or your technique? So many questions! Don’t worry; I have the answers for you!

Here are the 3 ways to ensure no lifting at the free edge of your gel nails.
Tip #1 Thoroughly and gently prep the nails.
Thoroughly cleaning and prepping the nail is the first step to ensure no product lifts off the nail. The nail plate has a significant amount of moisture and oil, which do not mix well with gel products; therefore, you must ensure the nails are thoroughly moisture and oil-free before proceeding to product application.
Secret: Do not over-file the free edge. The last thing you want to do is weaken the free edge by getting carried away when using a hand file, you are removing keratin layers, and no plastic is not stronger than keratin.
Let’s consider a funny analogy for a moment. You may know that a rhino horn is made up of keratin. Keratin absorbs impact better than plastic because can you imagine if that rhino’s same horn was made of plastic? Yeah- some serious breakage will happen whenever it rammed into anything. So your goal as DIYer or professional nail tech is not only to manicure the fingernails gorgeously but also to protect the integrity of this keratin underneath because your nails, mainly depending on the length, can be nicked and jammed regularly.
Start by removing all the cuticles of the nail plate (remember, the cuticle is the almost invisible dry skin on the nail plate, not the skin around the nail) and cleaning with 90% alcohol.
One of the benefits of Japanese Gels is that most will not require prepping solutions to guarantee adhesion; 90% alcohol is all you need to clean and dehydrate the nails.
The next step is gently (emphasizes gently) buffing the nail. Another great benefit of Japanese gels is the awesome adhesion components in the products. How awesome? You may ask; so awesome that you only need to remove the shine from the nail plate with a sponge buffer (a 180g or 220/280g is perfect) OR not buff them at all!
That’s right, Japanese gels have Sanding Free bases, which means you can work with thin or super-damaged nails and still get long-wearing manis.
So, scrape the cuticle off, wipe with 90% alcohol, gently buff the nail (sanding-free bases ;)), and move to product application.
Sidenote: Sometimes, you have tried all the tricks and tips to ensure your gel mani and still get lifting at the free edge. In rare cases like that, they really are rare; you can use a non-acid primer. Apply the primer ONLY at the free edge, not the entire nail. Using primers over the whole nail every service can weaken the nail and cause more lifting problems; if you only use it on the free edge, it won’t compromise the integrity of the nail because you will be filing off that area on the next service. Another thing to note is that adding primer will make it harder to remove the product on the next service but will help with adhesion. I try to avoid using non-acid primers as much as I can.
Tip #2 The right product amount
All are clean and ready for gel application. Initially, I had issues lifting at the free edge because I used too little product, yes! That can cause lifting too. I know I felt intimidated by gel and worried about flooding the entire nail, but it’s about product control. To create an aesthetically pleasing nail, we have to structure the nail like this:
Thin at the cuticle area, the free edge, and thick right above the smile line. When I say thin, I mean thin as a credit card, not paper-thin, ok?
Secret: Know what type of product to use. Japanese gels have a variety of clear gels for nail artists to customize nail services in case a variant might interrupt the long-wearing process, such as oily nail beds, thin nails, damaged nails, thicker nails, etc. So, it’s a good idea to educate yourself on the products of the brands you use to select the gel that will benefit your client’s nails the most.
For example, use a sanding-free base if your client has damaged nails. If they have thin nails, use the most flexible gel; the product will bend with the natural nail instead of lifting.
Tip #3 The Scrubby Method.
This technique will give you a third layer of anti-lifting security.
You want to do this technique after cleaning and prepping the nail. You can do it with clients that have lifting problems often or just as aport of every service, and it’s super easy to do.
For the “Scrubby Method,” you need an application brush and base gel.
- Grab the tiniest amount of base gel with the brush, and then use a flat surface to wipe the brush on. You are getting that bit of gel on the bristles of the brush and removing all the excess. It will look like you have nothing on the brush, but that’s what you want.
- Use the brush to start scripting the free edge of each nail with the brush. Apply a bit of pressure and scrub the free edge and the corners; give extra love to the corners, as this is where lifting starts to happen.
- After scraping all five fingers, take them to the lamp and give them a full cure, then proceed with the other hand.
- Now, you are ready for base coat application. No need to wipe before base gel; just start your regular gel nail service.
If your client has ultra-short nails, push the skin back and work in reverse. Move your brush to the top of the nail and bring it down towards the free edge. This will seal all the layers of keratin on the free edge.
There you have it! Three tips to ensure no lifting at the free edge. It’s important to know that there is no one-true method to avoid all lifting; it combines good prepping, product control, and proper nail finishing. What really helps here is having the knowledge and ability to see lifting issues, identify what caused them, and then apply these tips and tricks to fix them. I always say, ” If the nails stick, so will the clients.”
Learn my full salon process for monthly wearing gel nail application inside the Master Gel Nails Course.

Loved this blog? Then I think you’ll love learning more about my journey as a specialized gel nail solopreneur in the nail industry. Click here to get instant access to my free masterclass. These blogs are copyrighted material, and any use of this blog is not permitted without written concern first. Some of these blogs contain affiliate links that give us a small commission when qualifying purchases are made. Thank you for being so supportive, which helps us to continue creating valuable resources and content like this.


