
Today we’re going to be doing a magnetic design inspired by one of my favorites, maybe my favorite artist from Japan, her name is Hiyo, and I am so excited to do this because I’ve been trying to the magnetic gel on myself for a long time. Today I’m inspired to recreate this dainty and sweet look with 3D nail rings.
Let’s get to it!
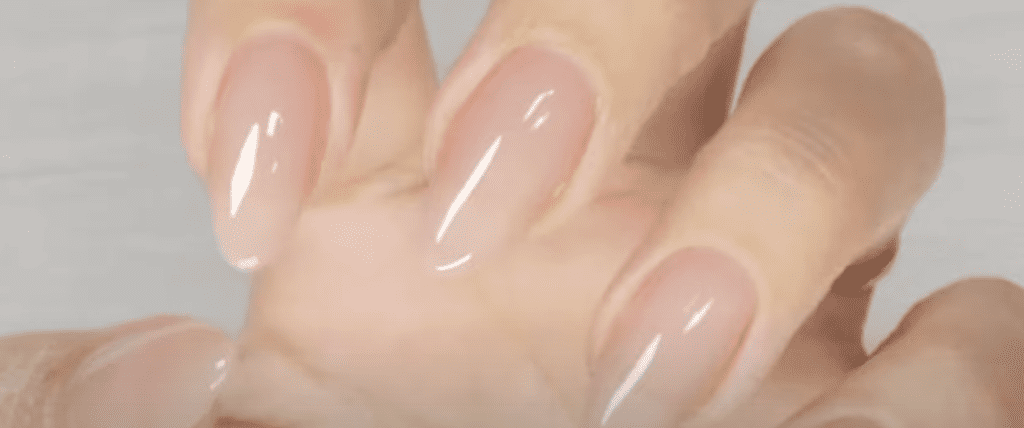
1 Clean, prep, and overlay.
2 Two coats of color
I already did an overlay on my nails, and next, I’m taking color Boysenberry candy and applying two coats of color to the nails. This is a hot seller from Kokoist, so if you’re looking into buying colors, #175S is a great option to add to the arsenal.
This is the first coat, and I know many of you will be happy with one coat, but I’m going for a second coat. If you don’t have this color, do yourself a favor and get it because it’s gorgeous.
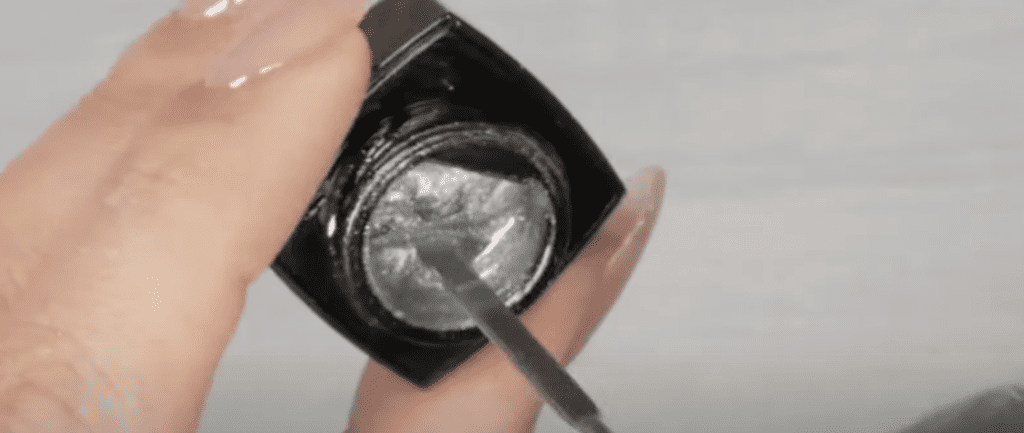
3 Magnetic gel fun.
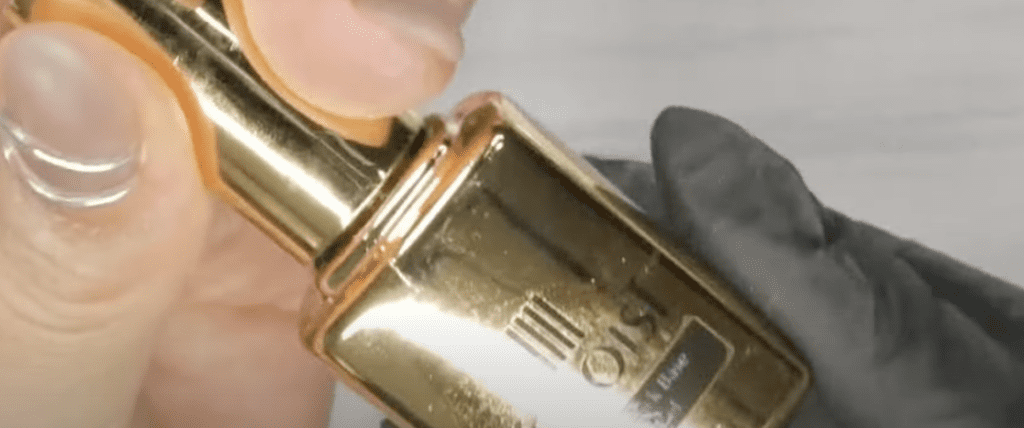
I’m super excited about this next part. I’m using the color Moon because that’s the color she is using. I want to bring all the magnetic sparkles to the top, and to do that, I’m using a small spatula; I got this one from my amazon store if you’re wondering where I got it from, and I am stirring the gel. You only need to stir slowly two times and pull the spatula up; that’s it; you want to bring up all the magnetic sparkles to the top.
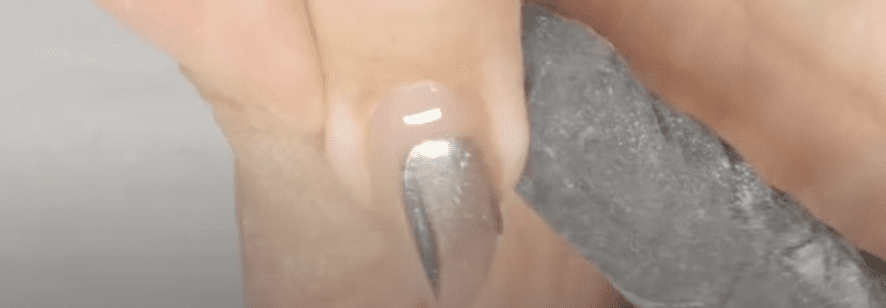
4. Reach for your magnet and have it ready when you use it. You are going to start working one nail at a time. Paint the nail with one coat of silver magnetic gel, then reach for the rounded end of the magnet, hover it in the center of the nail, and let it pull away.
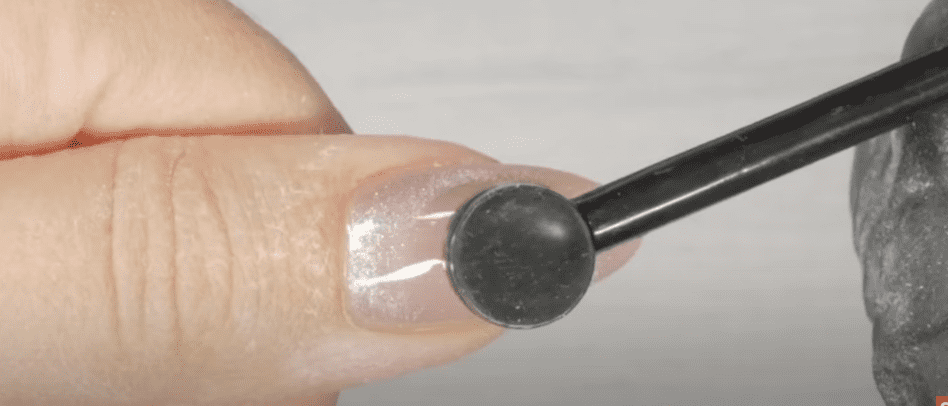
You want to create a framing effect with the magnetic particles, so play with the magnet until you are happy with the design; after that, take the nail to the lamp and cure.
5. Remember to work one nail at a time; the trick here is to take a generous amount of magnetic gel for the best magnetic effect. You only need one layer, at least with this color.
Also, the magnetic gel is hard to mess up, but if you feel you mess it up, don’t worry, don’t wipe it off. Instead, grab a tiny amount of magnetic gel and do it again before you cure.
Take your time with these, and stay patient so they all look like you want them to because you won’t be disappointed with the result.
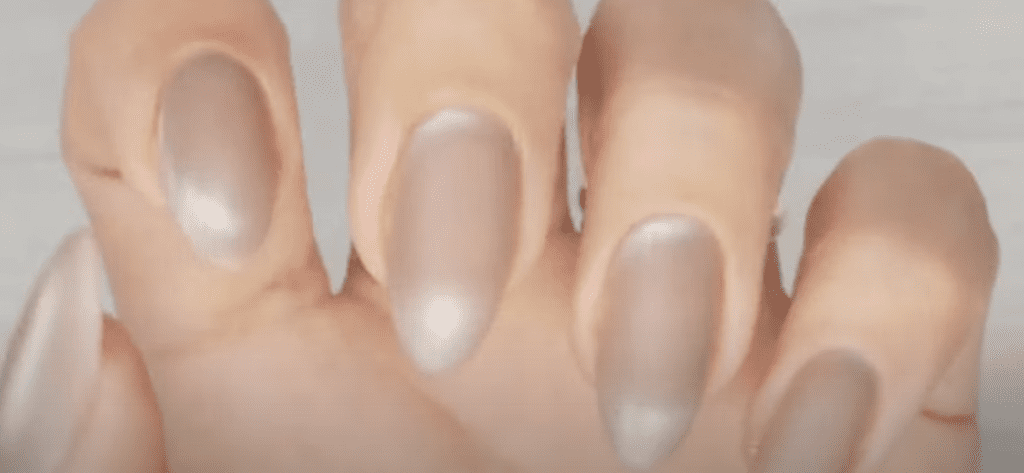
6. Now, it’s time to reach for a matte top coat and 3D High Boba gel. I applied one coat of the matte non-wipe topcoat to make these into a velvet look with the magnetic gel movement. To spruce these up, I will add rings using the High Boba gel.
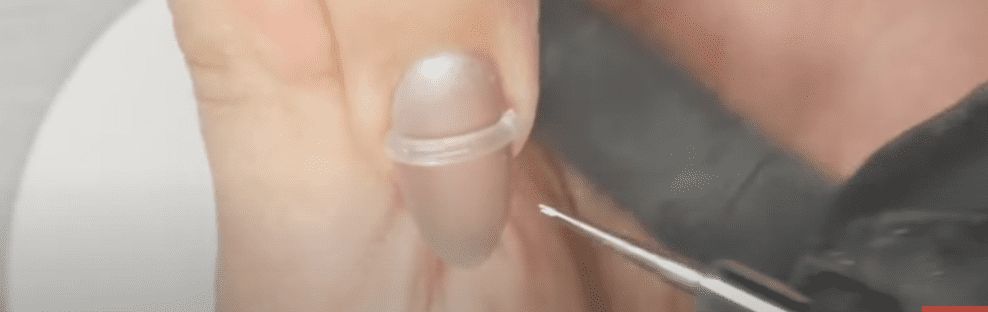
7. Pick up a small amount with a tool and place it on a palette to start working on it. Please use your gloves when working with uncured gel. You don’t want to have skin touch the gel and develop skin allergies. I am rolling the 3D gel into a round string and using the spatula to cut the length I’ll use for one nail.
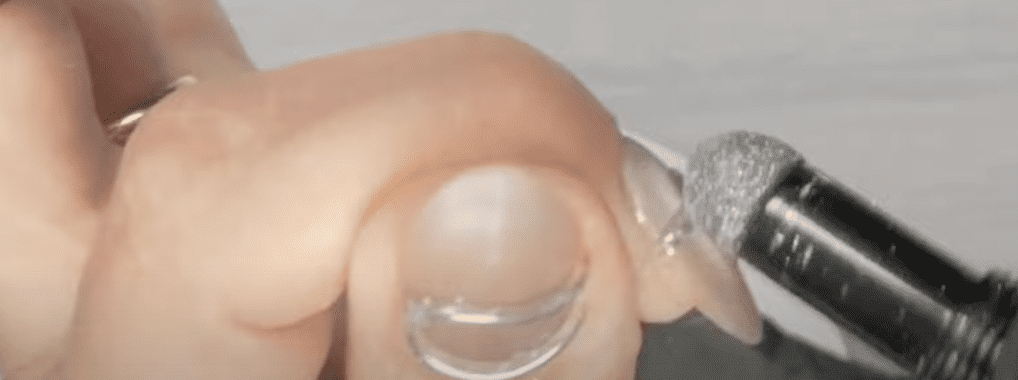
8. Place the piece of 3D gel on the nail and use tweezers to fix the placement. I am using a dotting tool to create texture on the gel band. Use a little bit of alcohol to wet the dotting tool before you start making the indents, so the gel doesn’t stick to the tool.
Once you are happy with it, take it for a cure. This has to cure in the lamp for two minutes, but I will be flash-curing (around 10 seconds) and working on the next nail; then, I will do a full cure when the whole hand is ready.
Another thing is you don’t need a ton of gel when you work with this high-viscosity boba gel. Grab a small amount and keep the tools you use wet with alcohol, so the gel doesn’t stick to them. After you are done with one nail, grab a fresh amount of gel from the put, the gel feels different when it’s less exposed to air.
9. After fully curing for two minutes, reach for Ultra Glossy Non-Wipe Topcoat, spread it on the rings, and cure it in the lamp for 10 seconds.
10. Use a chrome pigment for your choice; I am using a silver chrome pen from Kokoist, and use a makeup sponge or use your glove to activate the chrome pearls and spread them evenly. Don’t worry about getting it on the nail plate; since the surface is mate, you can clean it up afterward. Right after the chrome powder, take the nails for a 20 seconds cure and use a soft makeup brush to remove the excess powder.
I like to double seal my chrome powder so it doesn’t chip; for that, I will use Mega Stick Base in a bottle (this is one of those moments I like to work with bottles, it’s just easier).
11. If you want to secure the rings to the nails further, you can do this. Use a lint-free wipe with alcohol to clean the excess powder from the nail surface, and use your base gel; I’m using Mega Stick Base to statically place it around the rings to hold them in place. This step is a bit extra but super necessary to ensure these last for a long time.
If you need to get in between very tight spaces, use a liner brush to apply the base gel in between and cure.
If you like the shiny look, apply a top coat all over the nails, and you’re done! But I am returning to the mate look, so I’m applying a matte top coat to the nail surface and then a shiny top coat to the rings. That would be it. Please give it a full 60 seconds cure.
Super quick, the doors to my coaching program, Master Gel Nails Pro, are opening very soon. MGN Pro is the roadmap to a successful career in nails; it includes all of my signature courses like the Master Gel Nails course that teaches you how to apply all your nail services with Japanese soft gel only, the efficient efile masterclass dedicated to soft gel specialists, the client booster camp to help you get booked out even if you’re just starting. The nail affiliate course with all my tips and tricks to earn income as an affiliate for your favorite nail brands.
We will also have group coaching calls to answer your questions as you go through the course. I truly believe this is the only program you’ll need to book yourself out in the business of nails working with the products you love, offering the services you enjoy doing, and attracting a loyal and returning clientele who will want to see no one else for nails but you.
If this is the year you want to take your career to the next level, get serious, excited, and super focused, and make this a success, then I want you to join the waitlist for MGN Pro HERE. When you join this VIP list, you receive the best perks for signing up early. This program opens twice a year only.
What do you think? Have you tried mate magnetic nails? Or the super trendy 3D jewelry pieces? Let me know in the comments below, or tag me on Instagram! I would love to see your creations. If you want to use any of these products from Kokoist, don’t forget to use code PPN10 for a 10% discount on your purchase. Otherwise, thank you so much for joining me today in recreating this beautiful, easy set inspired by one of my favorite Japanese nail artists.

Content written by Paola Ponce and Fabiola Saucedo
Loved this blog? Then I think you’ll love learning more about my journey as a specialized gel nail solopreneur in the nail industry. Click here to get instant access to my free masterclass.These blogs are copyrighted material, and any use of this blog is not permitted without written concern first. Some of these blogs contain affiliate links that give us a small commission when qualifying purchases are made. Thank you for being so supportive, which helps us to continue creating valuable resources and content like this.


Love this look. Great tutorial thank you.
Seriously, will be a regular for me.