Transfer foils, are they not so beautiful to create easy and fun nail art?

But chances are, if you’re reading this, not only are you super curious about how to do a foil transfer but also… how to get it to stay without lifting.
So today, I will show two ways to master your transfer foils step-by-step.
First things first, when doing transfer foil art, you must have the right products. Thankfully, you don’t have to search too long to find the right type of adhesive for transfer foils.
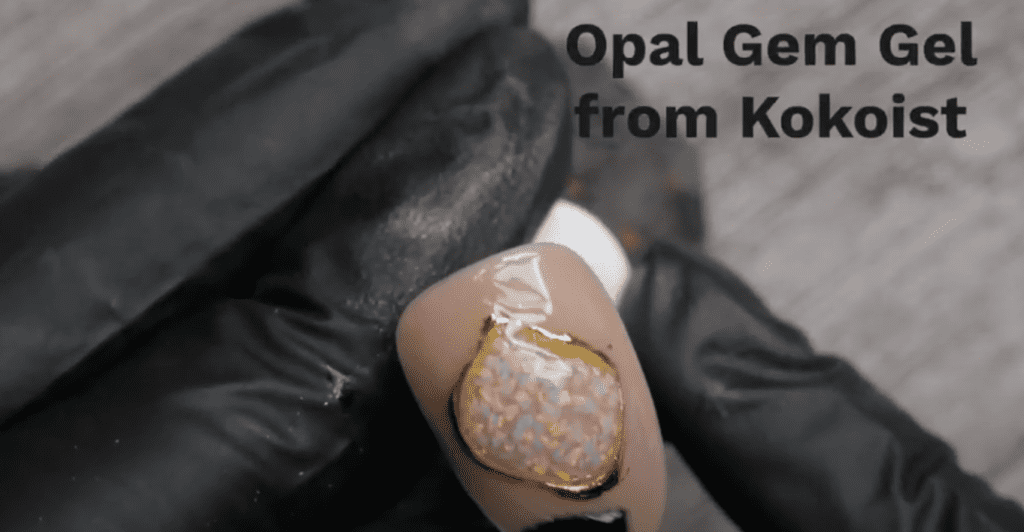
Two of my favorite Japanese gel nail companies have started carrying excellent foil transfer gel.
Kokoist offers theirs in a pot, and Leafgel offers theirs in a bottle via their sister brand Lily Gel. Remember to use code PPN10 for a 10% discount on your entire purchase at Kokoist and Zillabeau 😉

Alright, so the cat is out of the bag. A foil transfer gel is a new way to achieve a successful foil transfer. You could use this foil gel sandwiched between regular polish coats, but we’ll use it with nail gel today.
Oh! And by a successful transfer means a more solid one, without too much crackle, and most importantly, one that does not wear off at the free edge.
Foil gel will give you that successful transfer by attracting the foil via a very sticky layer, almost like a double-sided sticky tape. Foil gel is very forgiving, and even if you don’t like your first transfer, you can scrub it off and start over w/o having to reapply it.
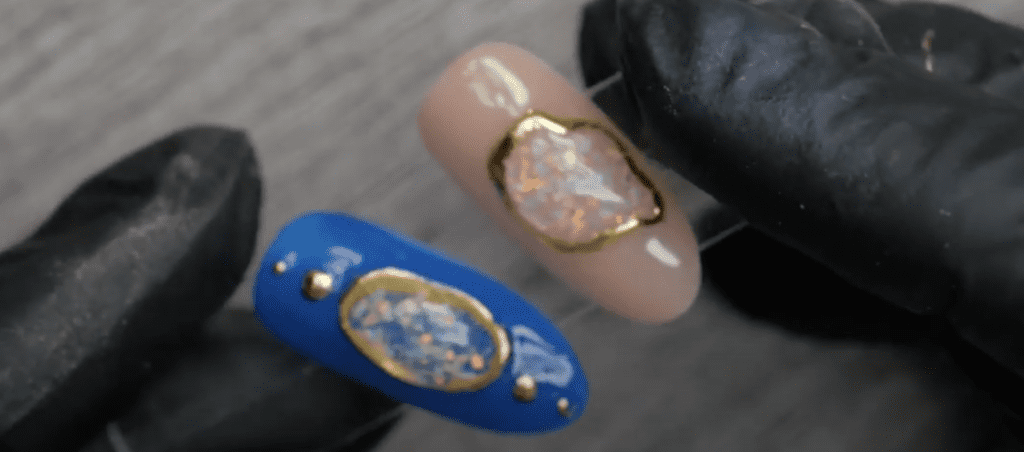
Here is the step-by-step for a partial foil transfer.
This type of transfer is especially good for the new trend of 3d jewelry on the nails.
Step 1: Apply the foundation gels and desired color, then top coat with a non-wipe matte top gel.
Why a non-wipe matte top gel? Because it will ensure that your foil does not transfer to areas you don’t want it to. However, if you need to clean any unintended areas, grab your towelette and alcohol cleanser and scrub away.
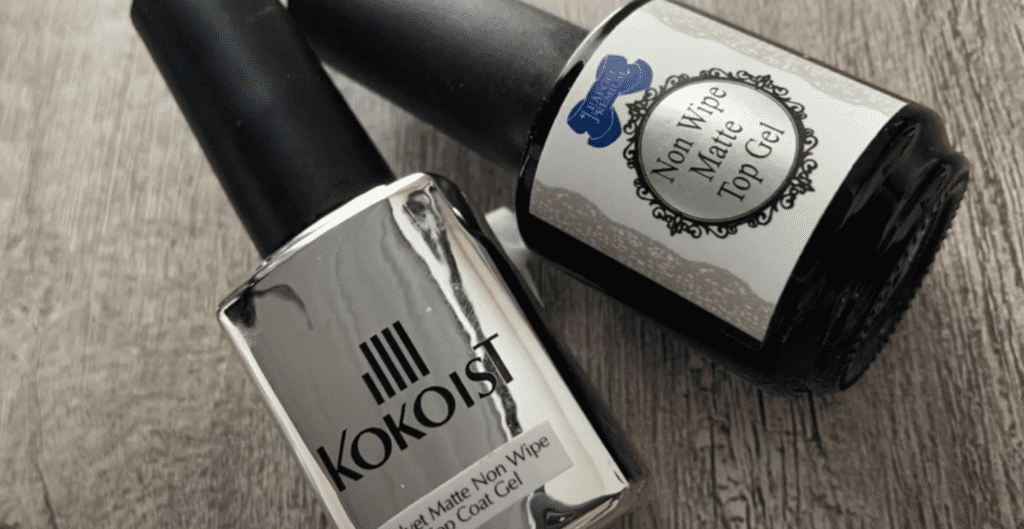
Either Kokoist or Leafgel carries excellent non-wipe matte top gel.
Step 2: Design the area you wish.
I will use Vetro’s Extension Clear Builder because I find it the firmest in my Japanese collection of builders. And remember, I am going for that raised, 3D look in this design.
Fully cure your design.
Step 3: Using your foil gel, overlay your design or whatever you want your foil to adhere to.
I prefer Kokoist’s potted gel version for partial transfers or jewelry designs, and it’s just easier to dig into.
Fully cure this layer.
Step 4: Cut out approximately the amount of foil you will use.
Try not to handle it too much with your fingertips, as you will leave oils or moisture from your fingertips on the foil. This can mess up the success of your foil transfer.
Step 5: Place your foil in the desired area with one firm press.
Do not continuously press it on the same area, or you will cause it to crackle. Unless that is the look you are going for.

Once you are happy with your transfer, flash-cure it.
Step 6: Sealing off the design.
Finish the design with a thick viscosity top coat, or seal your design using a thin coat of base and then non-wipe top gel. A slightly thicker seal will ensure your foil is not exposed should your thin top coat wear down. Cure it.
Now time for a complete foil transfer.
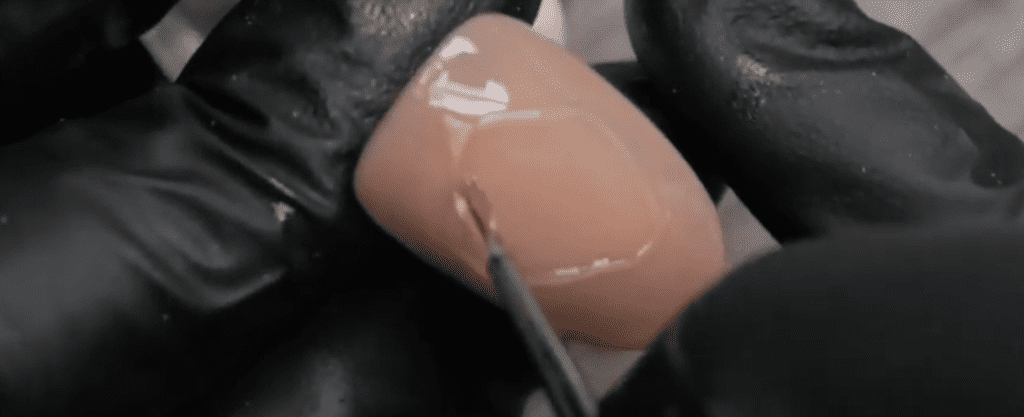
Step 1: Apply your foundation gels… base, builder, or both.
Step 2: Apply a color that compliments the foil you choose.
Should you have any stubborn areas that do not transfer. One coat is fine. Cure that layer.
Step 3: Apply a generous layer of foil gel on the entire nail’s surface, and avoid capping the free edge.
You want to skip capping the free edge because, for some odd reason, although foil gel does really well at attaching foil, and it is a gel, it doesn’t do so well at bonding with other gels. I can only imagine that it is like putting a layer of gel on a double-sided sticky tape… that sticky tape almost has a rubbery oily silicone feel. And if you own a silicone practice hand, you know very few things adhere to silicone.
Fully cure this layer of foil gel.
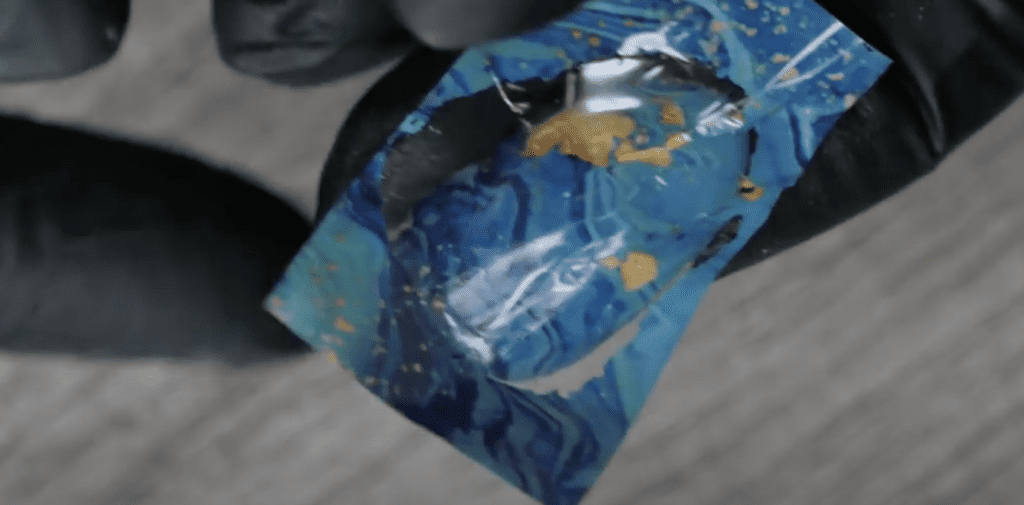
Step 4: With one firm press, attach your foil and rub the rest until it attaches.
Continuously keep rubbing until the foil becomes unloose. If you dislike your transfer, scrub your foil off with a towelette and alcohol cleanser. Let that alcohol evaporate, and press on your foil again.
Most transfer foils will allow you to re-apply your transfer w/o applying more gel. But if your foil gel does not do that, no worries, reapply a thin layer. Or slightly buff the old layer off and re-apply.
Step 5: Apply bonder at the tip, and flash cure.
Step 6: You’ll want to try and ensure your next gel layers make contact and cap with your foundation gels.
Apply a thick viscosity top gel or a thin layer of base gel and then a non-wipe top gel. Fully cure your design, and you’re done!!
Woohoo! I hope after these two step-by-step, you feel like a total Foil Transfer Master.
Thank you for watching, and I’ll see you at the next one.
____

Content written by Paola Ponce
Loved this blog? Then I think you’ll love learning more about my journey as a specialized gel nail solopreneur in the nail industry. Click here to get instant access to my free masterclass. These blogs are copyrighted material and any use of this blog is not permitted without written concern first. Some of these blogs contain affiliate links that provide us with a small commission when qualifying purchases are made. Thank you for being so supportive that helps us to continue creating valuable resources and content like this.