
Quickly before we jump into our topic for today, today is the first day of my 30-day video challenge!
This means I will be posting 1 video daily on YouTube and a corresponding blog post for the entire month of December.
I know! There are so many topics to discuss and fun things I want to show you with Japanese gel.
And I will need your help more than ever to get this done. The best way to support this effort is to engage with every video/blog post you open. If you’re subscribed, a thumbs up will be appreciated, and if you want to comment, please do! I will be more attentive than ever to the comments section this season.
Thank you so much in advance, and now on to today’s topic.
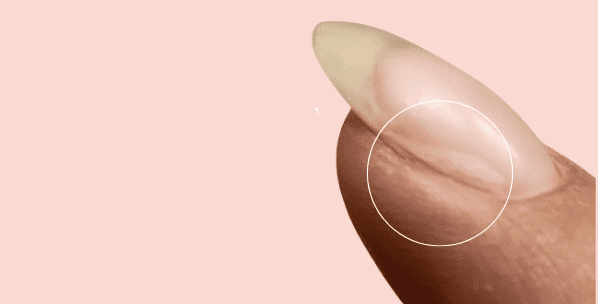
It’s incredible to have nails that last three, four, five, and even six weeks. But when the nails go that long, you may have a little lifting starting to creep up, and that’s fine as long as you or your client do not pull the nails from the natural nail. Pull them off, peel them off, and everything’s good.
But as a technician or the DIYer, what do you do when you have a nail lifted like this here? Do you remove the entire thing? Do you try to clip some of that nail lifting off or file it down flat?
One of those answers is correct.
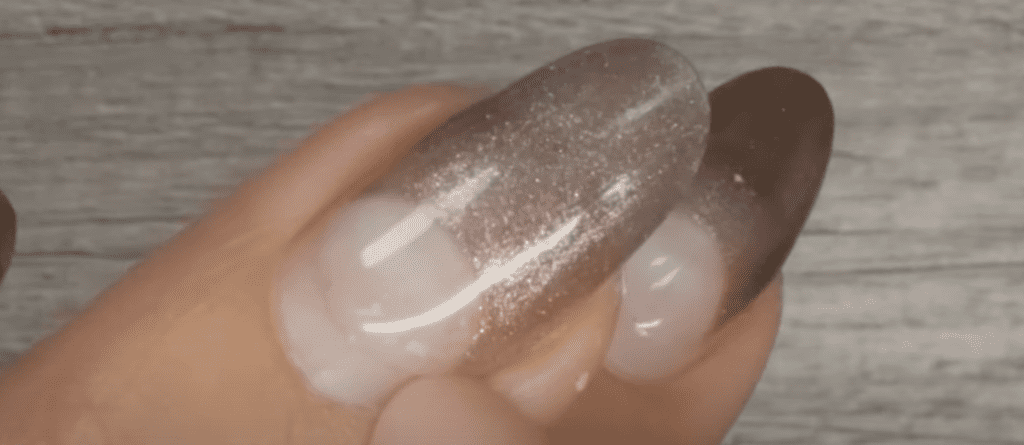
When working with soft potted gel formulas and you’ve created a structured gel overlay, you’ll want to remove this flat and reapply so that everything can be nice and rebalanced.
So I’m going to show you how to do that.
First, I like to work with an Efile because it’s fast and efficient, right? But if you don’t have an Efile, you will have to hand-file this down thin. With the coarsest grid file, you can find, like, a 120 or a 150.
Now I’m going to go efile this off with my ceramic bit. And I want to file this flat because I don’t want to dig into this nail and try to pretend like I’m going to cut off the lifting and fill it in. As you’ve seen with acrylic surfaces, the soft potted gel is slightly different. They’re different, even if you use a builder and a bottled gel. The ones meant for structures.
They still flow, and they still go a little bit flat. If you think you’re going just to fill in the growth area, you must rebalance the whole thing. So with soft potted gel nail systems, there is a rebalancing service versus a fill service. I go over all the details in my program, Master Gel Nails. I’ll show you how to apply your gel manicure, gel overlay, and rebalancing service step by step. And I also share with you why I call it a rebalance versus a fill. You can access the free masterclass HERE for the course after this reading :).
But that’s my course, that’s step by step; that is something else. Now I am answering whether you would remove this entirely or clip away at the lift.
I’m going to file it. Then I’m going to start filing all of my nails down thin so that I can rebalance them again. And then, once we get to the one with lifting, I will show you what I’m going to do there.
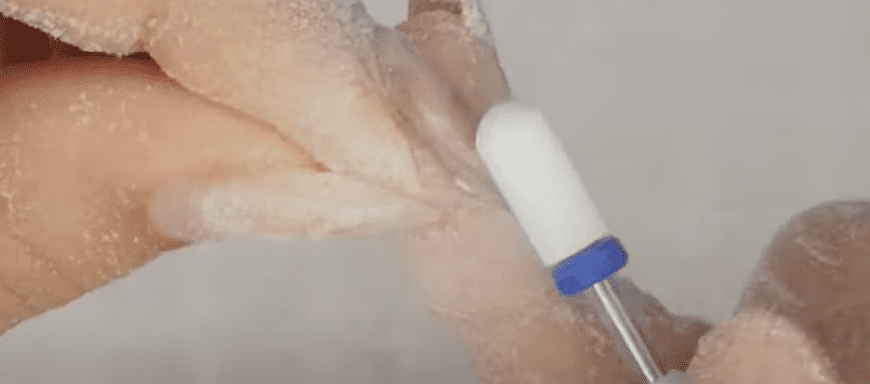
Step 1. I will use an efile with a medium grit ceramic safety cylinder to file down everything thin and flat.
Step 2. Now will move to the nail with lifting with the same efile bit, the ceramic medium grit cylinder and file it down flat. Use long strokes and a higher RPM to avoid heat.
Step 3. Now that it’s flat, you can see the lifting area almost popping off, do not peel it off. Continue gently using your efile or hand file to break that piece off.
Step 4. After you remove all the lifting areas from every nail, we will overlay them even if there’s still product on them, Im going to treat them as a new set.
So yes, if you have lifting, you would remove the entire piece that’s lifted by filing it down flat. Do not cut pieces off because they will continue to lift.
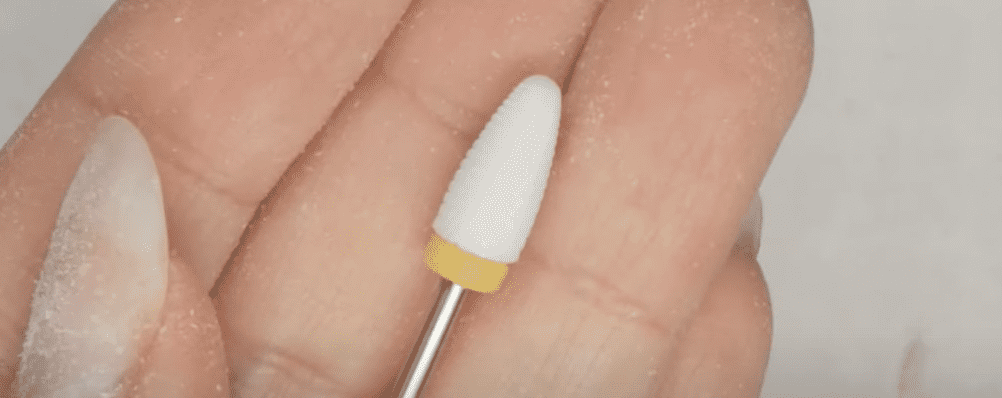
Step 5. Now Im going to buff the damage and overlay them.
I will use an extra-fine ceramic cone drill bit to get closer to the natural nail. Repeat in all ten nails.
Step 6. You are all set and ready for gel overlay application. After buffing the nails and flushing down flat the old gel, proceed to your regular steps for a gel overlay.
Thank you for watching, and I’ll see you at the next one.

Loved this blog? Then I think you’ll love learning more about my journey as a specialized gel nail solopreneur in the nail industry. Click here to get instant access to my free masterclass. These blogs are copyrighted material, and any use of this blog is not permitted without written concern first. Some of these blogs contain affiliate links that provide us with a small commission when qualifying purchases are made. Thank you for being so supportive, which helps us continue creating valuable resources and content like this.


