
Weolcome back to another episode!
Glazed Nails! Wait! Let me say that right… Glazed Donut Nails! Ok, the look J-Lo wore three years ago has a new name y’all!
Either way, edgy is my style or at least the style I often crave, so I thought today we’d jump in with a low-commitment “Donut Glazed” look.
Before we begin, I want to let you know we have a date for our 2023 Leafgel Japanese Online Certification. If you’ve been waiting for this certification, Leafgel is the one with the bow on it, it’s Japanese soft gel, or you may call it structure soft gel. The tentative certification date is around the second week of March, so if you want to know all the details make sure to subscribe to the waitlist and be the first to get all the information. Click Here to be on the waitlist for all the details.
Alright! let’s begin.
Here’s The Recipe For This Look
Here are all the materials you will need:
- Base gel
- Builder gel (if you need it)
- Leafgel color 126
- Satin Purple Beam powder
- From the Nail Clear Gel
- Nail art stripping tape
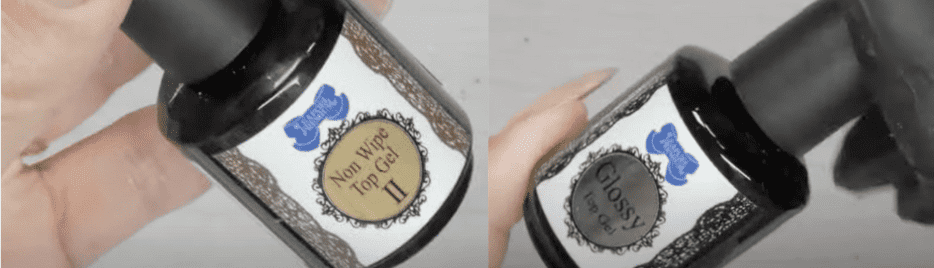
- Leafgel Glossy top coat
- Leafgel Non Wipe top coat
- Scissors
- 90% alcohol & lint-free wipe towlettes
- Nail art palette
If you are interedted in trying Leafgel products or the satin powder, you can find them at Zillabeau and use code PPN10 for a 10% discount on your purchase.
Here is the step-by-step:
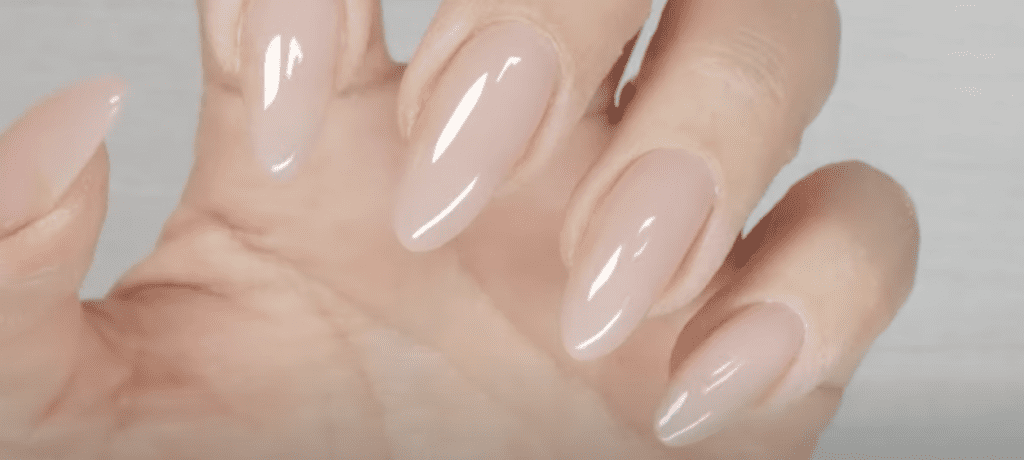
Step 1: Remove old products (if any), clean, prep, and structure your nails to get them ready for the nail art step. I overlayed my nails using soft structure gel, and I used Leafgel.
Step 2: I am using color #126 from Leafgel, a mauvy-pink-nude color. I will do one or a couple of coats of this color. Use your brush of preference for color application and apply color in thin coats. I like to use a flat brush to frame the cuticle, grab color on one side of the brush and place the color bead 2 mm away from the cuticle area, then push the color up to bring it as close as the cuticle as you can and then pull the rest of the color down.
Do one coat on all five fingers and then a full cure in the lamp. Proceed to the other hand and do the same. If you want more opacity repeat step one and do a second coat; I will add a second coat.
Tip: The flat brush requires s bit of practice (but it’s worth it, once you get it, you will love it). You can also use a round brush or a liner brush to frame the cuticle area and reach tight areas. Also, make sure to remove all product from the brush and only pick up the product on one side of the brush to keep it sharp. This will help you avoid touching the skin.
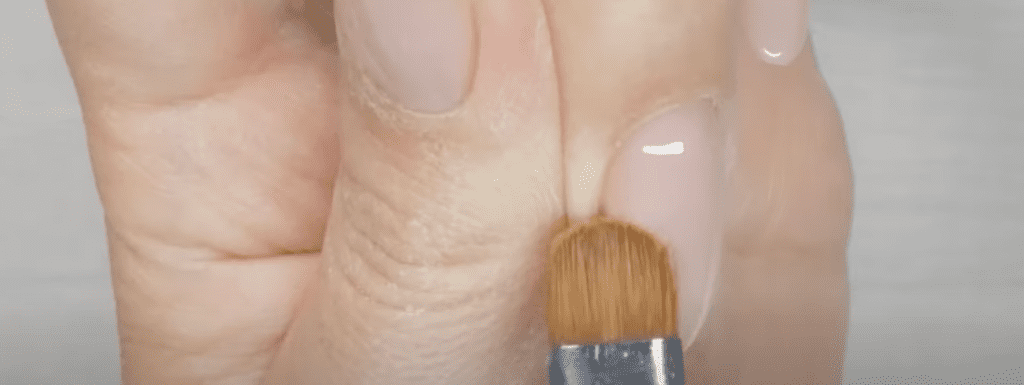
Step 3: I am using F Gel Clear gel; this is the clear gel you will use to burnish the powder on the nail. I am using the brush from the bottle and applying it to the cuticle area. Use the same framing technique; start lower down and slowly push the gel up to frame the cuticle.
I want this coat to be super thin and pretty perfect, so I am using a liner brush around the cuticle area. I am stopping the gel at 1/3 of the nail and doing a flash cure to move to the next finger; when you complete the hand, take it for a 20 seconds cure. I am returning with stripping tape, so it doesn’t have to be perfect.
I am using my french cleaning brush to clean the bottom part of the clear gel and make them all the same length.
Step 4: Use a damped lint-free wipe or a 100% linf-free towlette to wipe the portion without the clear gel. You can do this step using a matte top coat only on this area, but I am wiping it with alcohol to avoid making the nail too thick.
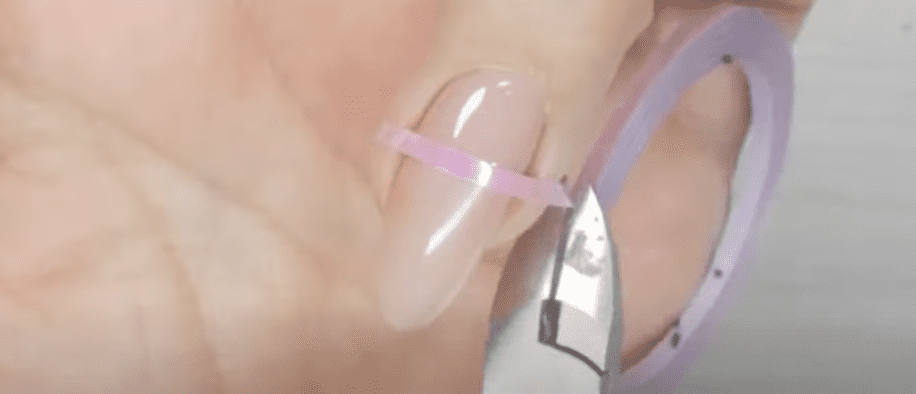
Step 5: Now, I’m using the stripping tape. I am not keeping the tape on the nail; going to use it only as a guide. Place it over the shiny clear part, and make sure you leave it longer than the nail’s width before cutting it.
Step 6: It’s time to use the satin chrome pigment. Grab a makeup sponge or applicator and grab a little bit; you only need a tiny amount. Rub the applicator on the shiny portion of the nail until the chrome effect is activated.
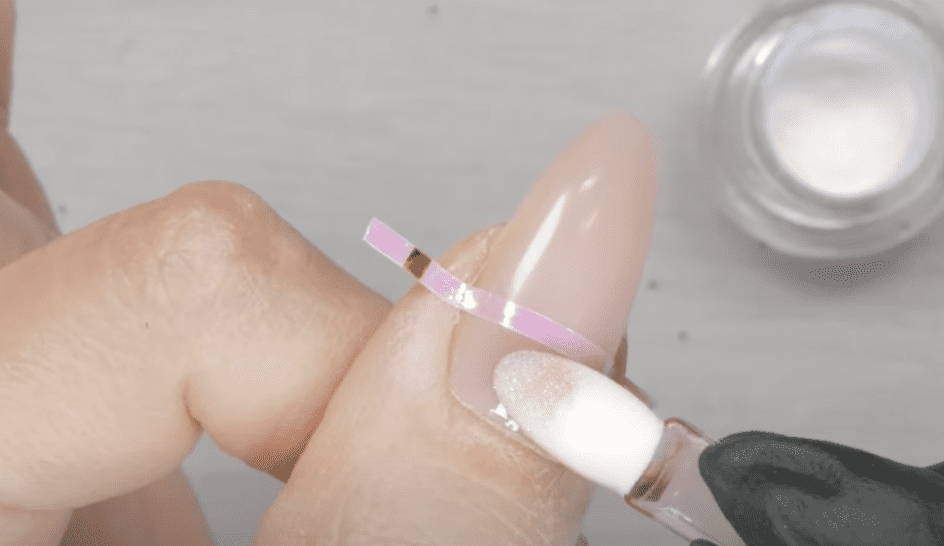
Step 7: After the satin powder is on, use a large fluffy brush to remove all the excess powder from the nails. I am using an alcohol-damped towelette to clean the bottom half one more time before sealing the satin chrome powder.
Now the fun part, peel off the tape.
Tip: If the powder is placed on the free edge area, use two coats of clear gel to avoid chipping; you can do a base gel coat and a top coat or a wipe-required gel and then a top coat.
Step 8: To keep things thin, I will use Glossy top coat from Leafgel. This top coat is thinner in viscosity than base gel, that’s usually the case, so I am using Glossy top coat, which is a wipe-required finish, followed by a coat of Leafge’ls Non-wipe top coat.
I like to start by applying the Glossy top coat on the area without the satin powder, then coming back with a generous amount and floating it on the nail; this will keep the powder in place and now move to the area where you don’t want any powder on. So, float the gel on the powder area, stop, wipe the brush on a lint-free surface, then pull it down. You might get a bit of contamination on the clear area but try your best to keep it as clean as possible. Let the gel self-level and move to the next nail.
Again, float the Glossy gel on the cuticle area, wipe the brush on the clean surface, grab a little more gel, and float it again on the entire nail. Make sure to wipe the brush on a clean surface, like an art palette, after every stroke. I am doing two nails and flash curing in between, so the gel is not moving much. Once Im done with one hand, I take it for a full cure and move to the next hand.
Step 9: I can stop after step 8, but because I don’t want to wipe these with alcohol, I will finish them with Leafgel’s Non-Wipe top coat. This way, I don’t have to wipe them off afterward.
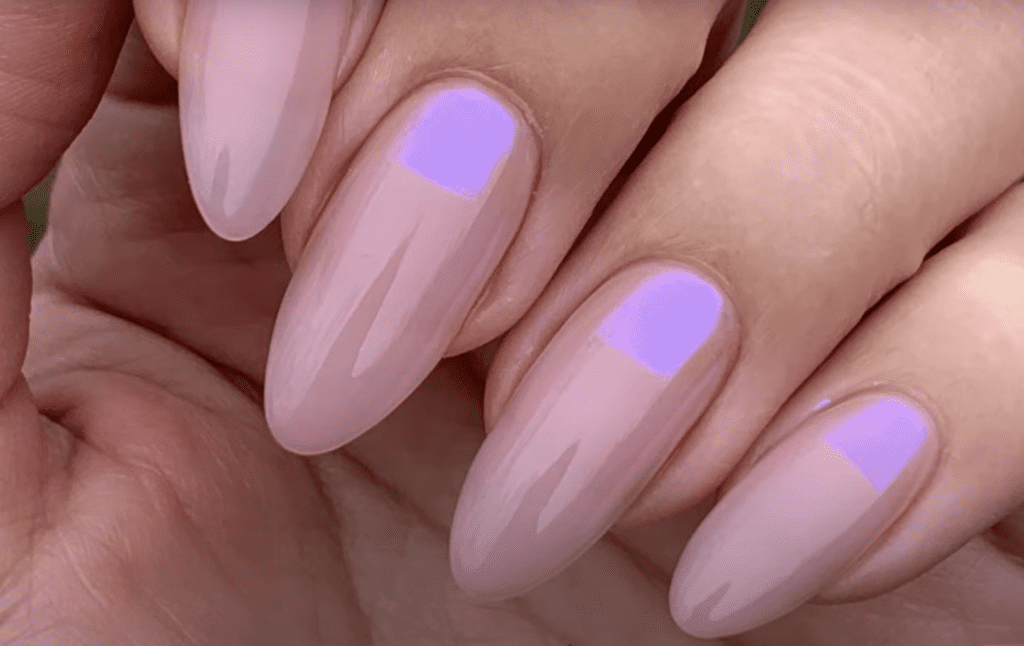
I love how subtle this looks, I usually do a lot more to my nails, but for me, this is the perfect level of nail art. Make sure you check my Instagram, where I will post the final look, like the aesthetic look.
Thank you for watching, and please make sure you tag me if you decide to recreate this look, I would love to see your creations. Until next time, bye for now…

Content written by Paola Ponce & Fabiola Saucedo
Loved this blog? Then I think you’ll love learning more about my journey as a specialized gel nail solopreneur in the nail industry. Click here to get instant access to my free masterclass. These blogs are copyrighted material, and any use of this blog is not permitted without written concern first. Some of these blogs contain affiliate links that give us a small commission when qualifying purchases are made. Thank you for being so supportive, which helps us to continue creating valuable resources and content like this.


