
Full COVERAGE … or full COVER tips? I’m going with full COVERAGE. I struggled with what word to go for this video topic (lol). I see more ‘full cover,’ but I think ‘full coverage is the more appropriate word. I don’t know! Help a girl out!
Ok enough.
Today we’ll explore five common mistakes nail stylists make when adhering full coverage tips with gel. There are different ways to adhere these tips… like with polygel and glue, but I’m going to keep true to what I do here and talk about this issue as it pertains to gel. If you want to see the polygel method, comment below, and if we get enough buzz, I’ll go ahead and do it for you.
Ok, let’s do this.
Alright… back to today’s topic.
Full Coverage Tips Mistake #1
Going with the wrong tips.
The biggest mistake here is buying tips that are too sculpted.
Most people do not have beautiful elongated nail beds and a c-curve to their natural nails. Most of us have flat natural nails or only a very natural c-curve. Unless you want the sculpted look, buy tips from your preferred brand of full coverage tips that offer a natural curve to their tips.
I do not recommend buying sculpted tips as your standard all-fitting nail tip choice. If you are unsure, start with a brand of tips that you can ‘mold’ or roll in a c-curve too. Start there, and then see if you or your clients desire a more sculpted look.
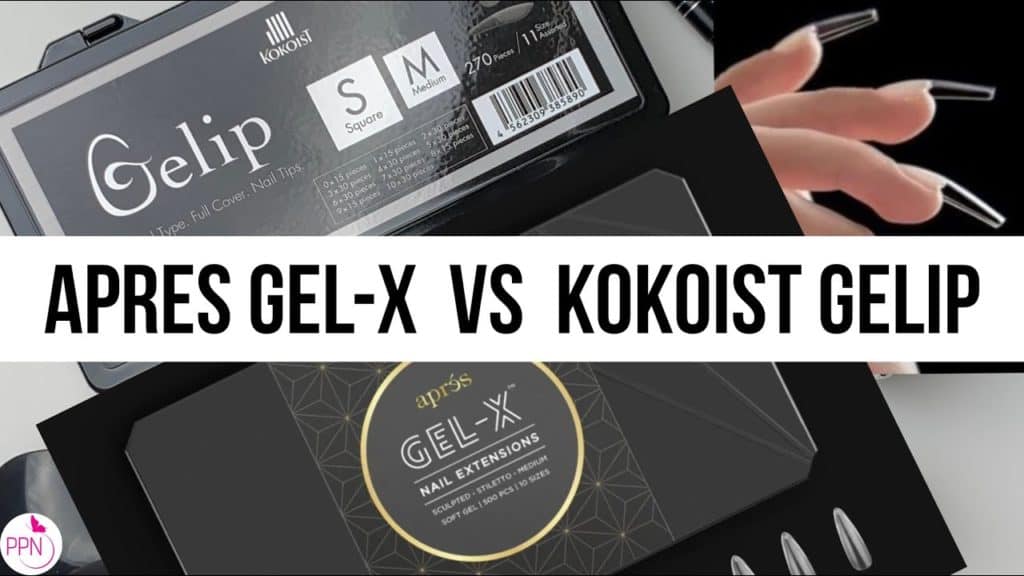
Japanese gel nail brands Kokoist and Korean brand Form the Nail offer full coverage tips.
If you’re going for the sculpted look and feel you’re going for, tip the finger downward as you’re applying the full cover tip, and do so slowly. Be ready to freeze immediately, i.e., cure the gel in place.
And I’ve already done a video comparing a couple of brands to each other, so do check it out in my library or the card using the link above.
Full Coverage Tips Mistake #2
Wrong tip size.
So regardless of the tip’s brand and style, fitting that full cover tip is oh-so crucial. If you choose small size for the natural nail, you will most likely apply too much pressure to adhere, and that full cover tip could pop off.
And you can also go on the other side of the spectrum, right? Choose a tip that is a bit bigger than that natural nail it is adhering too. In this case, if you do not adjust the tip to fit within the lateral nail folds, you or your client will have to lift as a result of the gel or plastic tip touching the skin.
All parts of the full cover tip should be flush with the natural nail
Full Coverage Tips Mistake #3
Too little gel.
Ok, so I briefly alluded to using too much pressure to adhere the full coverage tip to the natural nails. That usually will happen when you are trying to make the tip fit and when you have very little adhesion gel, so you press down to get it to flow all over the natural nail. Been there, done that… so I understand the struggle. Now the right viscosity gel is essential for adhesion. If you grab one too thin, it will run to the sides and cause lifting after being cured. I do find that whatever adhesion gel the manufacturer recommends typically also comes at the right viscosity, so you do not need to figure this puzzle out for yourself; go with the gel the manufacturer recommends to avoid any headaches.
No headache zone over here… hehe.
Likewise, grabbing too much gel can also be a mistake.
So here is my rule of thumb… outline your full coverage tip before putting it on the natural nail by putting as much gel as the length of the nail bed you are putting it on. Then, scrape the excess of your brush into a dollop at the cuticle end of the tip. This is typically the right amount of gel for proper adhesion.
Full Coverage Tips Mistake #4
Too much pressure.
Now is the time to really talk about pressure when adhering to these full coverage tips.
The most pressure should come when holding the tip at the cuticle end. Seriously, just breathe, relax… hold it at the base with gentle pressure, grab your handheld curing unit and cure 5 secs, then press the free edge slightly to allow the uncured gel to flow just until the end of the natural nail. Continue curing, let go once it all has set where you want it to, and cure.
When you look at the underside of the nail, you should neither have a gap nor a bulge of gel, and just about 1cm thickness of gel is all that should be there.
My preferred option for full coverage tips is Kokoist’s Gelip .
Full Coverage Tips Mistake #5
Not having your light source ready to go.
Totally guilty. This is almost like a life lesson in itself. Make sure you are always ready and stay ready… for what? For whatever amount of lemons life gives you, make that lemonade, girl. Ok, but seriously… back to full coverage tips.
What happens when you squirm for your lamp? … You lose the correct pressure amount you worked hard to obtain and get right in mistake #4. So always remember…
Sized tip? Check.
Adhesion gel. Check.
Handheld lamp. Check.
I recommend the handheld lamp or self-mounting lamp if you’re struggling because the more squirming or reaching over to pop your client’s hand in a lamp, the more likely you are to displace that gel you worked so hard to achieve.
So how are you feeling now? Do you feel ready to give the full coverage tips another go? I hope these five mistakes really boost your confidence, and if at the end of applying all of these tips and tricks, you decide that you simply don’t have the patience for this type of service. Well, at least you gave it a big fair shot.
Let me know in the comments section below which one of the five mistakes we discussed where you having trouble with, and don’t worry if it was all, as I was doing them all too.
Thank you so much for joining me, and we’ll chat next week!

I have a problem in positioning the tip whether is full or half the always leave a gap in between
do you mean mm in #4, not cm?
Yep. Thank you.
Fantastic video. I would like to know what you think of XVX nail tip system . I have that one right now because it came with a super cool light. Nails seem ok but primer stinks and I’m kind of on fhe fence with the gel but the squeeze bottle is a great design. I think I want gelip or xtens tips next because they are pre roughen. Which one would have the best flat square nail shape? Thanks
To be really frank I am just really into the overall availability and customer service of Kokoist Gelip brand. When Xtens first launch I was excited for them, but not sure why they don’t promote a little more? They are quality, but not enough variety, and I do like the square shape from Kokoist more. It does not dip to mch at the free-edge right about where the tip number sits.
Where can I buy Kokoist products in the U.S.?
Kokoist USA
Thank you great video must say your voice is relaxing
Any tips on removing excess adhesion gel from under the extension once it’s cured?
Yes!, must be efiled, I like this bit from Nashlynails for that:
https://www.nashlynails.com/products/carbide-e-file-nail-drill-bit-barrell-double-cut-soft-grit-russian-made-electric-file-bits?_pos=20&_sid=c4e2b9567&_ss=r
or
https://www.nashlynails.com/products/carbide-e-file-nail-drill-bit-cone-corn-double-cut-soft-grit-russian-electric-file-bits?pr_prod_strat=use_description&pr_rec_id=8941dea34&pr_rec_pid=2089642131513&pr_ref_pid=7731194953979&pr_seq=uniform
(affiliate code PPN10 for 10% off)
I applied my full cover nail with clear polygel as the glue. I cured it and it was solid but then the nail popped off and left the polygel on my nail. I wanted the nail to stay on! What did I do wrong?
So two things: #1 The enhancement did not receive a strong penetrating cure through the plastic to attach both materials; and/or #2 Etching the inside of the tip may be necessary when using acrygel.