Shaping natural nails in the five most popular salon shapes… and what are those shapes?
Well, for me, in the salon, they were…
Squoval, Round, Oval, Almond, and Coffin!
Now when shaping natural nails, you’ll want to make sure that you use nothing coarser than a 180-grit board file. Use an emery board or a ~200-grit nail file as much as possible. Using gentle grit files will keep the natural nails from splitting. Not only do splitting nails become weak but also causes your nail polish or gel to chip.
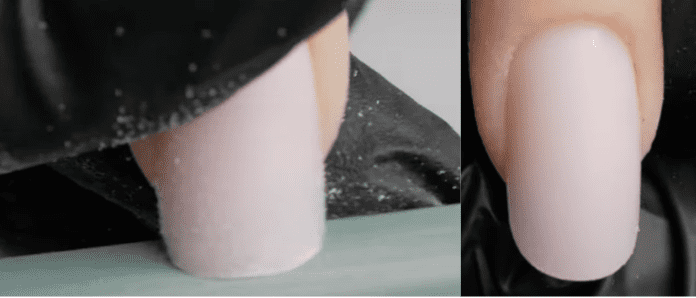
Popular Shape #1 Squoval
I would say that over the years, the square shape has evolved. While a few may still like a straight edge and sharp corners, many do not, and this may have naturally led the way to the rise of the squoval shape.
So what is the squoval shape? Let’s start by defining what it is not, so you know what to avoid when creating the look. The squoval shape is not a square nail with rounded edges. That will indeed be a Square. Round. Nail.
The squoval nail is squared on its side walls and has more of a narrow tapering off into the free edge, and that edge is pronouncedly rounded. And yes, there still are corners, but they are pushed in so that in the day-to-day impact of things, it is that rounded edge that makes contact with the world and not the corners.
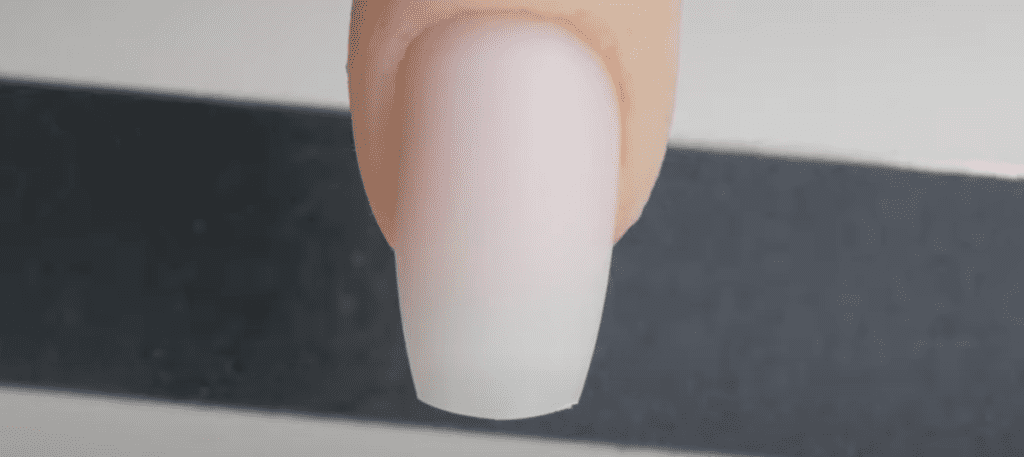
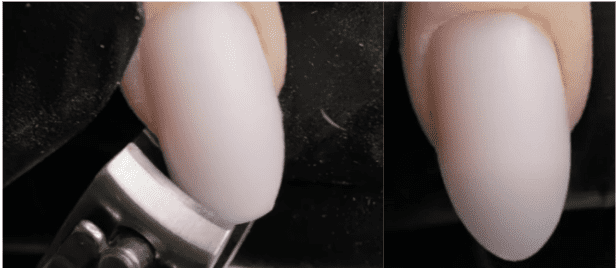
Ok, so let’s take a long almond nail and turn it squoval. First, let’s get rid of the point and length.
So shaping natural nails into a squoval shape rounds off the free edge significantly, and all you have to do to keep a uniform shape is to give your file an angle. Because you are using a soft grit nail file, going back and forth occasionally will be ok. But when working on your sides, try your best to file in one direction.
You can slightly curve your file to soften the corners a bit, but your goal is not to completely round them off.
By the way, if you would like to see how I shape natural nails once they already have gel on them, I created this mini course to show you exactly that!
Popular Shape #2 Round
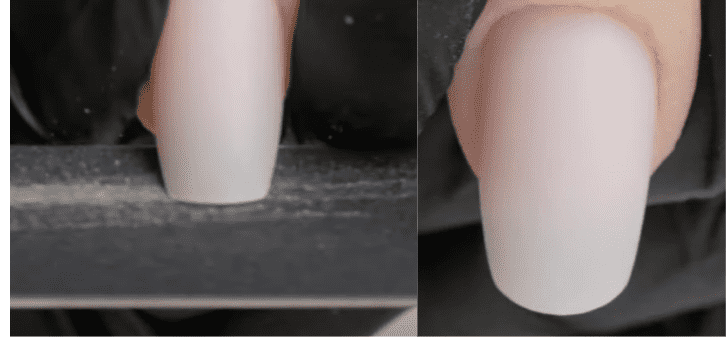
So if we look at this plastic nail tip, we’ll notice that it is actually a perfectly round shape. So we’re actually going to use it as a guide to creating the perfect round natural nail ourselves. Ready? Let’s do this.
Let’s start by cutting it straight.
Then we’re actually going to turn it squoval using everything we learned just a little while ago.
The biggest change will be curving the corners we lightly feathered in our squoval shape… and then just like that, we’ll end up with that beautiful rounded shape.
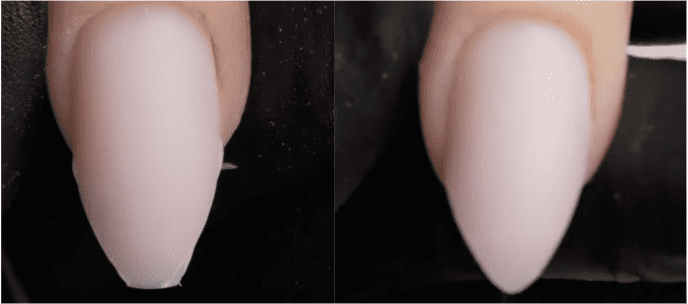
Popular Shape #3 Oval
Ok, this is for those considering a point to their nails but still on the fence. This is my favorite shape.
Use your rounded-edge nail clipper to cut the sides of the natural nail. Be very diligent not to go in too deep with your file into the walls of the skin.
For oval, you’ll want to avoid creating a super pointy free edge. We’re living that for our next popular shape, the almond.
Now marry your sidewall corners to the free edge. Be gentle; let the file do the work for you. Go in one direction. If you do, before you know it, you’ll have that oval shape. Again it is my favorite.
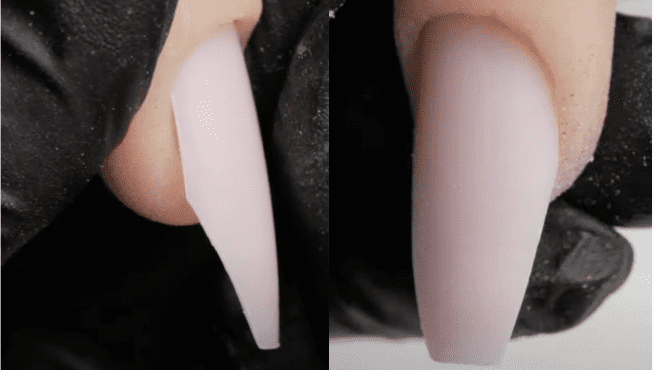
Popular Shape #4 Almond
Ok, I first got really curious about this nail on my natural nails in 2012. I really thought I wanted this point, but I soon committed more to the oval shape. This one here is still super edgy.
You’ll need to cut the sides of this nail to get to the shape quicker. Before, we used rounded nail clippers, but you’ll notice the curve is limiting as to how deep of a V-shape or triangle we can create on this free edge. So now that we will be cutting in more, you will want to switch to using nail nippers. They will also keep you from creating ingrown on the side of these nails. They can be super painful.
When creating an almond nail, you essentially cut the free edge into a triangle. From there, you shape up into an almond. This one is super easy; once you cut out the natural nails free-edge, you’re home free.
Just very, very important not to dig your file into the natural nail sidewalls, or you can risk detaching the natural nails from the nail bed or digging that corner in again.
I have a few favorite shaping files…
- Leafgel Brand- Shop them here (save 10% w/ code PPN10).
- Kokoist Brand- Shop them here (save 10% w/ code PPN10)
Favorite straight edge nail nippers
- Staleks Brand- Shop them here (save 10% w/ code PPN10)
Popular shape #5 Coffin
For this shape on natural nails, you will definitely need some length. Too short, and they are almost too strange looking.
Also, for this shape, you will need your nail nippers for precision.
To start, square off the free edge of the natural nail, then taper the sides in. It is better to leave it wider. Do not exactly cut the nails to the coffin shape, as you may accidentally cut off too much from one side.
And seriously, once you’ve trimmed the natural nails all around like so, you’re home free!
And there you have the five popular salon shapes for natural nails. I hope you found the video super easy to follow.
Thank you so much for spending your evening with me. I’ll see you next week, and don’t forget to check out the description box below for any current promos or free resources we may have available for you. Bye for now!

Content written by Paola Ponce
Loved this blog? Then I think you’ll love learning more about my journey as a specialized gel nail solopreneur in the nail industry. Click here to get instant access to my free training. , where you’ll learn about why I decided to niche down as a Japanese Soft Gel Specialist. These blogs are copyrighted material, and any use of this blog is not permitted without written concern first. Some of these blogs contain affiliate links that give us a small commission when qualifying purchases are made. I appreciate your support that helps us to continue creating valuable resources and content like this.